How to Use Invoxa: A Complete Guide for Freelancers & Small Businesses
Step-by-step guide to using Invoxa: create your first invoice, accept Stripe/PayPal/Razorpay payments, scan receipts, and track expenses — all in one app.
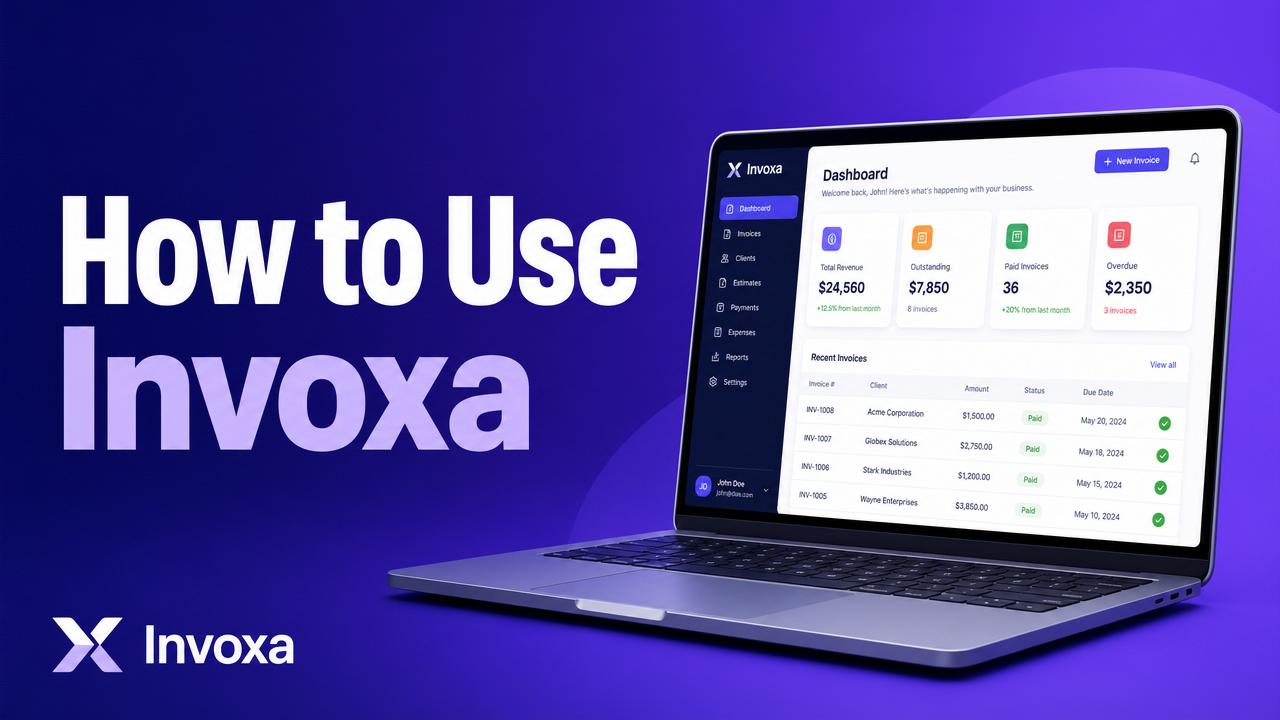
How to Use Invoxa: A Complete Guide
Invoxa is the simplest way for freelancers and small businesses to invoice clients, get paid, and track expenses — all in one place. This guide walks you through everything from signup to getting your first payment.
Step 1: Create your free account
Go to invoxa.live/signup and sign up with your email or Google account. No credit card required.
Once signed in, you'll land on your dashboard — the home base for invoices, payments, expenses, and reports.
Step 2: Add your business details
Open Settings → Business Profile and add:
- Business name and logo
- Address and contact email
- Default currency (USD, EUR, INR, etc.)
- Tax ID / GST number if applicable
These appear automatically on every invoice you send.
Step 3: Add your first client
Go to Clients → New Client and fill in:
- Client name and email (used for sending invoices)
- Billing address
- Default currency
You can also import multiple clients at once from CSV.
Step 4: Create your first invoice
Click Invoices → New Invoice:
- Pick the client
- Add line items (description, quantity, rate)
- Set tax, discount, and due date
- Click Send — your client gets a branded email with a payment link
The invoice takes about 60 seconds start to finish.
Step 5: Get paid
Invoxa supports three payment methods out of the box:
| Method | Best for |
|---|---|
| Stripe | Global cards, Apple Pay, Google Pay |
| PayPal | International clients who prefer PayPal |
| Razorpay | India: UPI, cards, netbanking |
Connect them under Settings → Payments. Your clients see a "Pay Now" button on the invoice and pay in one click. Payments are automatically marked as Paid in your dashboard.
Step 6: Scan receipts (AI-powered)
For every business expense, head to Scanner:
- Snap a photo or upload a PDF receipt
- Invoxa's AI extracts vendor, date, total, tax, and category
- Review and save — the expense is logged for tax season
No more shoeboxes full of receipts.
Step 7: Track expenses & reports
- Expenses — see all costs in one place, categorized automatically
- Reports — monthly P&L, paid vs unpaid invoices, top clients
- Export — download CSVs for your accountant
Step 8: Set up auto-reminders
Under Settings → Reminders, turn on automatic email reminders for overdue invoices. Most clients pay within 24 hours of the first reminder — it's the single biggest impact on cash flow.
Pro tips
- Mobile-friendly: Invoxa works in any browser — invoice from your phone while you're still on-site
- Recurring invoices: set up subscriptions or retainers once, billed automatically
- Multi-currency: invoice in EUR, get paid in USD — Invoxa handles conversion display
- Client portal: clients see all their invoices in one place, no account needed
What's included for free
- Unlimited invoices
- Unlimited clients
- Stripe / PayPal / Razorpay payments
- AI receipt scanner
- Expense & income reports
Ready to start?
Your first invoice can be in your client's inbox in the next 5 minutes.